A Chef’s Deep Dive Into Their Origins, Processing, and Culinary Applications
Chocolate is one of the most beloved ingredients in baking and cooking, but have you ever wondered how it’s made or why different types of chocolate behave differently in recipes? In this first installment of "Behind the Ingredients: Exploring the Building Blocks of Baking and Cooking," we’ll dive into Exploring Chocolate and Cocoa and the journey of chocolate—from its humble beginnings as a cacao bean to the different varieties we use in the kitchen today.
Origins & Production
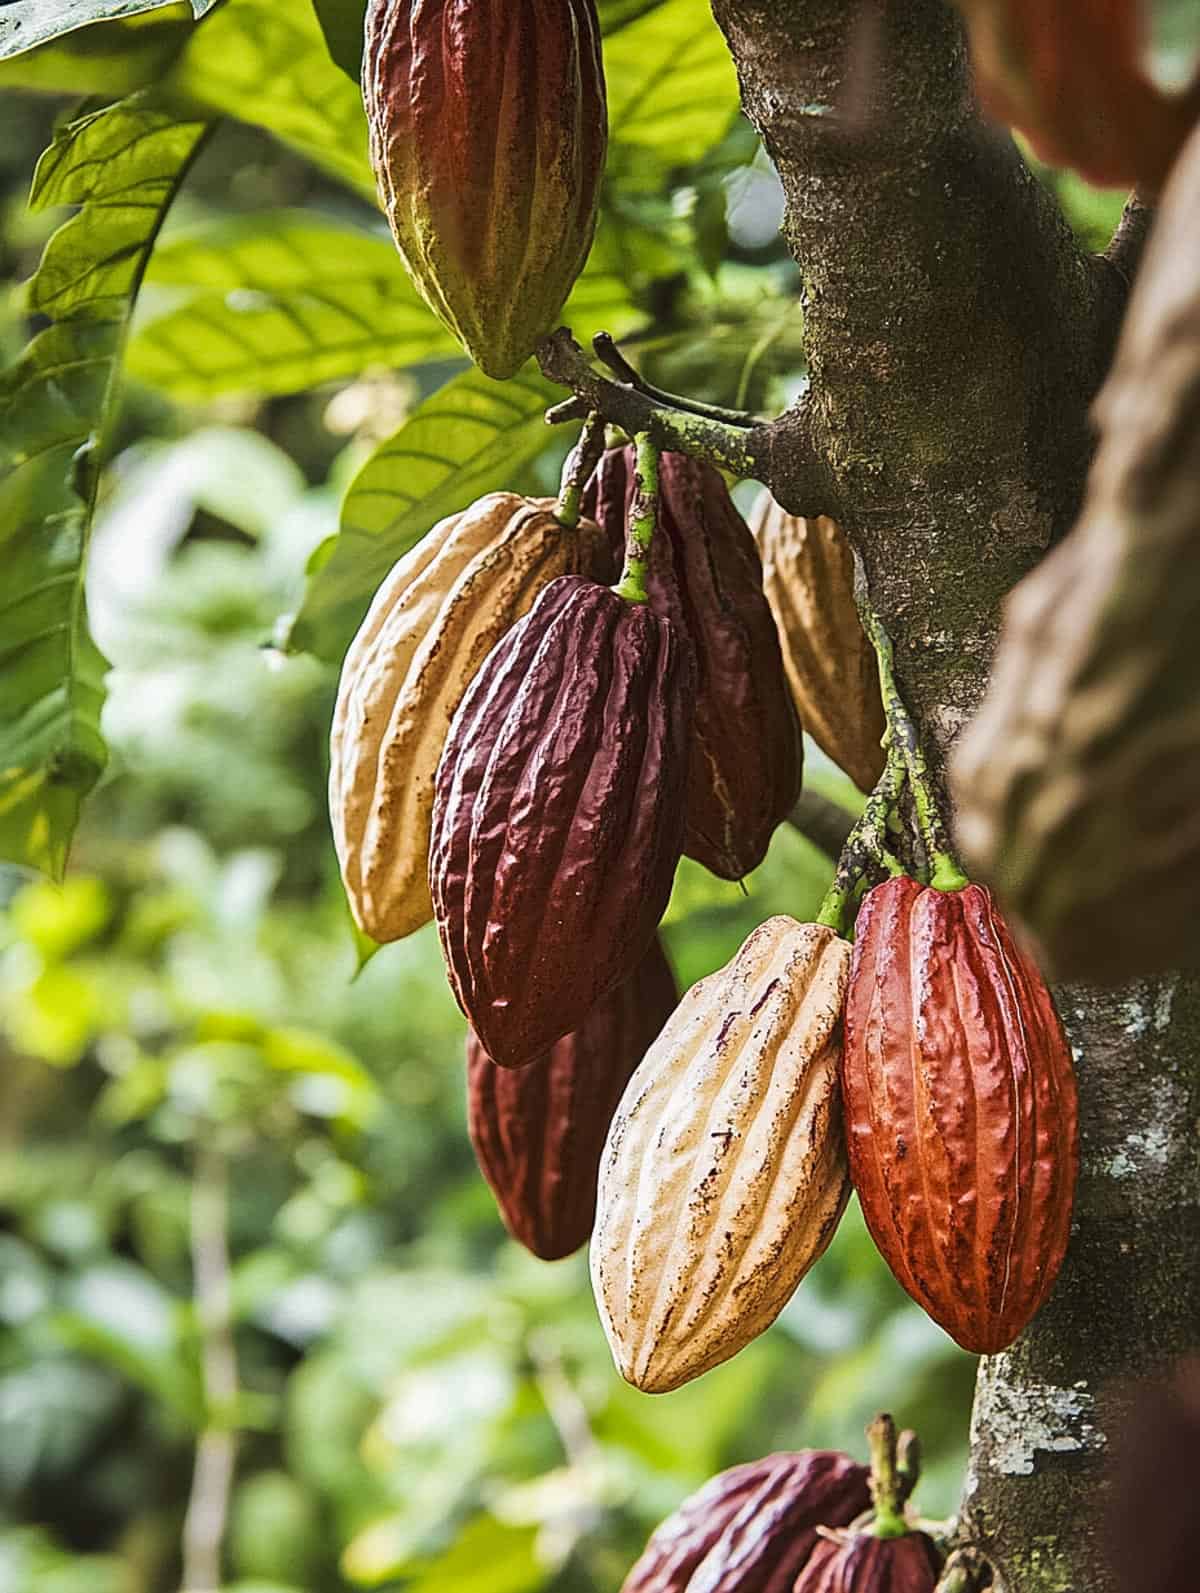
Chocolate originates from the Theobroma cacao tree, which thrives in tropical regions of Central and South America, West Africa, and Southeast Asia. The chocolate-making process begins with the harvesting of cacao pods. Inside these pods are cacao beans, which are fermented to develop their rich flavors, then dried and roasted. Roasting times vary depending on the desired flavor, but this step is crucial to reducing the beans' natural bitterness.
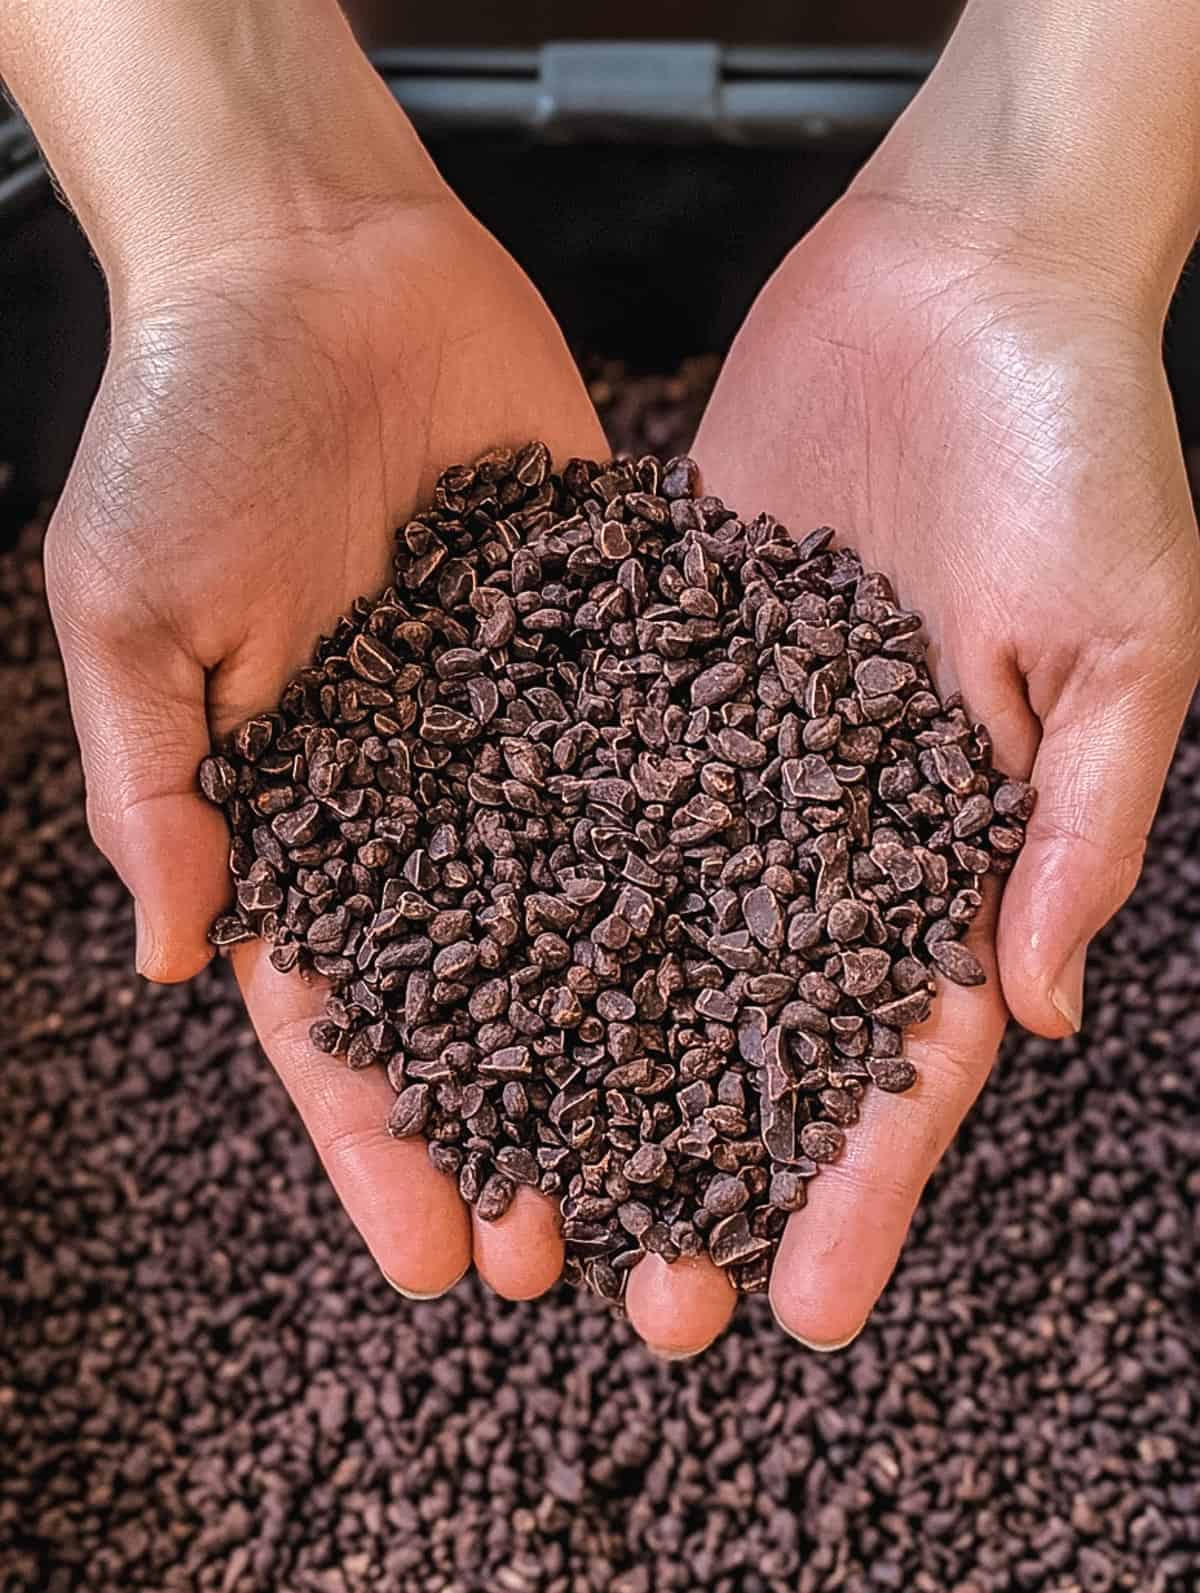
Once roasted, the beans are cracked open to reveal cacao nibs, which are ground into cocoa mass (or cocoa liquor). This paste is the base of all chocolate products, containing both cocoa solids and cocoa butter. Depending on how these elements are processed, we get different types of chocolate used in baking and cooking.
Let’s take a closer look at the origins of chocolate and cocoa, break down the processing timeline that turns cacao beans into the chocolates we know, and explore the regional differences that make chocolate from different parts of the world so distinctive.
The Historical Origins of Chocolate and Cocoa
Chocolate’s story begins over 3,000 years ago in the tropical regions of the Americas, where the Maya and Aztec civilizations cultivated the cacao tree (Theobroma cacao). In these cultures, cacao beans were so highly valued that they were used as currency and in religious ceremonies. The beans were fermented, roasted, and ground to make a thick, bitter beverage often flavored with spices like vanilla and chili—a drink reserved for the elite and used in sacred rituals.
When Spanish explorers encountered cacao in the 16th century, they brought it back to Europe, where it was quickly adapted to European tastes. By adding sugar and cinnamon, the once-bitter cacao drink became a luxurious sweet beverage. Over the centuries, technological innovations in chocolate processing led to the production of solid chocolate as we know it today.
From Bean to Bar: The Chocolate Processing Timeline
The transformation of cacao beans into chocolate is a complex process that requires precision at every step. Each stage plays a crucial role in determining the flavor, texture, and quality of the final product.
1. Harvesting and Fermentation
The cacao tree produces large pods, each containing seeds or beans. Once harvested, the beans are removed from the pods and fermented for several days. This fermentation process is essential as it reduces bitterness and begins to develop the deep flavors characteristic of chocolate.
2. Drying and Roasting
After fermentation, the beans are dried in the sun and shipped to chocolate processors. At the factory, the beans are roasted to further enhance flavor, similar to how coffee beans are roasted. The roasting process varies depending on the bean variety and the desired flavor profile.
3. Grinding and Chocolate Liquor
Roasted beans are cracked open to separate the nibs from the husks. The nibs are ground into a thick paste known as chocolate liquor (despite its name, it contains no alcohol). Chocolate liquor is the base for all chocolate products, as it consists of both cocoa solids and cocoa butter.
4. Pressing and Separation
To make cocoa powder, part of the cocoa butter is removed from the chocolate liquor. The remaining solids are pressed and ground into cocoa powder, used in baking. For chocolate bars, the chocolate liquor is blended with varying amounts of sugar, additional cocoa butter, and sometimes milk, depending on whether the final product will be dark, milk, or white chocolate.
Regional Differences in Chocolate Production
While chocolate and cocoa share universal processes of fermentation, roasting, and grinding, regional differences in cacao cultivation, processing techniques, and even flavor preferences create a wide variety of chocolate profiles worldwide. Each region’s terroir—the unique combination of soil, climate, and farming methods—significantly influences the flavor and quality of the final product. Understanding these regional differences helps chefs select the right type of chocolate for specific culinary applications.
1. Latin America: The Birthplace of Cacao
Latin America, particularly countries like Ecuador, Peru, Venezuela, and Mexico, is home to the ancient origins of cacao. These regions produce some of the most highly prized cacao beans in the world, particularly Criollo and Arriba Nacional varieties, known for their complex and floral flavor profiles. Venezuelan chocolate, for instance, is often described as having delicate notes of red fruit, nuts, and caramel.
The region's approach to chocolate production is deeply rooted in tradition. In Mexico, cacao beans are still used to make traditional drinking chocolate, often flavored with cinnamon, vanilla, and chili—echoing the methods used by the Aztecs and Mayans centuries ago. Mexican chocolate is often less refined than European counterparts, with a coarser texture and more intense flavors, making it ideal for savory dishes like mole as well as rich desserts.
2. Africa: The Powerhouse of Cacao Production
Africa, particularly countries like Côte d'Ivoire, Ghana, and Nigeria, dominates the global cacao market, producing over 70% of the world’s cacao beans. West African cacao, primarily Forastero beans, is known for its robustness, with deep chocolate flavors but often lacking the nuanced complexity of Latin American cacao. This makes it the backbone of mass-produced chocolate, used in commercial brands around the world.
However, recent efforts to improve fermentation and drying techniques in Africa have started to enhance the quality of these beans, leading to more single-origin African chocolates that boast nutty, earthy flavors with hints of dried fruit. The influence of local culture also plays a role in African chocolate production, with a growing emphasis on sustainable farming practices and fair trade initiatives aimed at improving the livelihood of cacao farmers.
3. Europe: The Art of Refinement
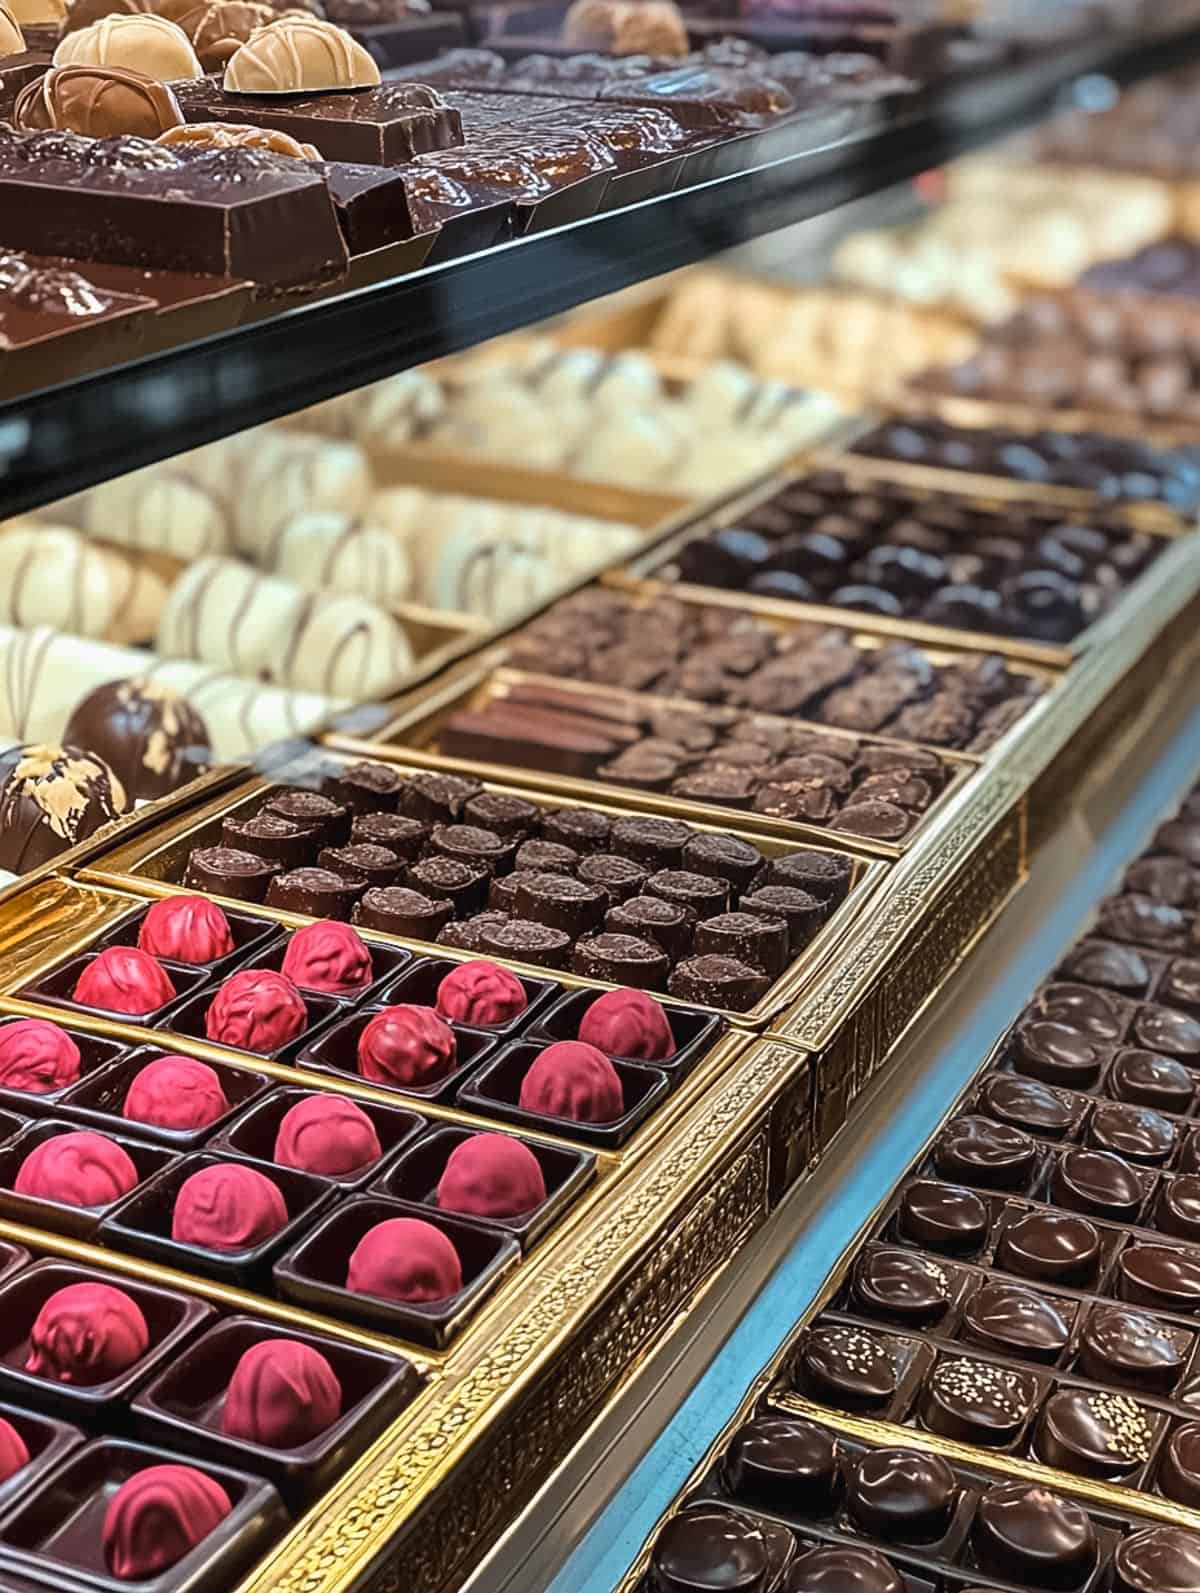
Although cacao does not grow in Europe, the continent excels in refining chocolate. Countries like Belgium and Switzerland have become synonymous with high-quality chocolate, famous for their smooth textures, precise tempering techniques, and perfect balance of cocoa solids and butter.
In the 19th century, Rodolphe Lindt revolutionized chocolate-making with the conching process. This method involves grinding and kneading chocolate liquor for extended periods—sometimes for days—significantly improving texture and flavor. As a result, conching breaks down larger particles while evenly distributing cocoa butter, producing the velvety, melt-in-your-mouth chocolate we now associate with European excellence. Switzerland, in particular, shines with its creamy milk chocolate, while Belgium is well-known for its indulgent truffles and pralines.
Meanwhile, France and Italy focus on dark chocolate and high cocoa content, crafting rich, bittersweet confections. French chocolatiers often incorporate bold flavors like spices and coffee, enhancing the complexity of their creations. In Italy, the Piedmont region has perfected gianduja, a delightful blend of chocolate and hazelnut paste, highlighting Italy’s tradition of balancing flavor and texture.
4. Asia: Emerging Chocolate Regions
Although Asia was not traditionally known for chocolate production, countries like Vietnam, the Philippines, and Indonesia are quickly making a mark in the cacao world. Vietnam, in particular, has gained international recognition for its high-quality cacao, characterized by bright, fruity flavors ideal for fine chocolate making. These regions are also focusing on sustainable farming practices and improving post-harvest techniques, which has helped them increase their share in the premium chocolate market.
Meanwhile, Japan has embraced chocolate innovation in unique ways. Japanese chocolatiers frequently experiment with creative flavor combinations, infusing chocolate with local ingredients like matcha, yuzu, and sake. These bold choices result in umami-rich confections that perfectly reflect Japan's taste for innovation and tradition.
Exploring Chocolate and Cocoa: Cooking and Baking Comprehensive Guide
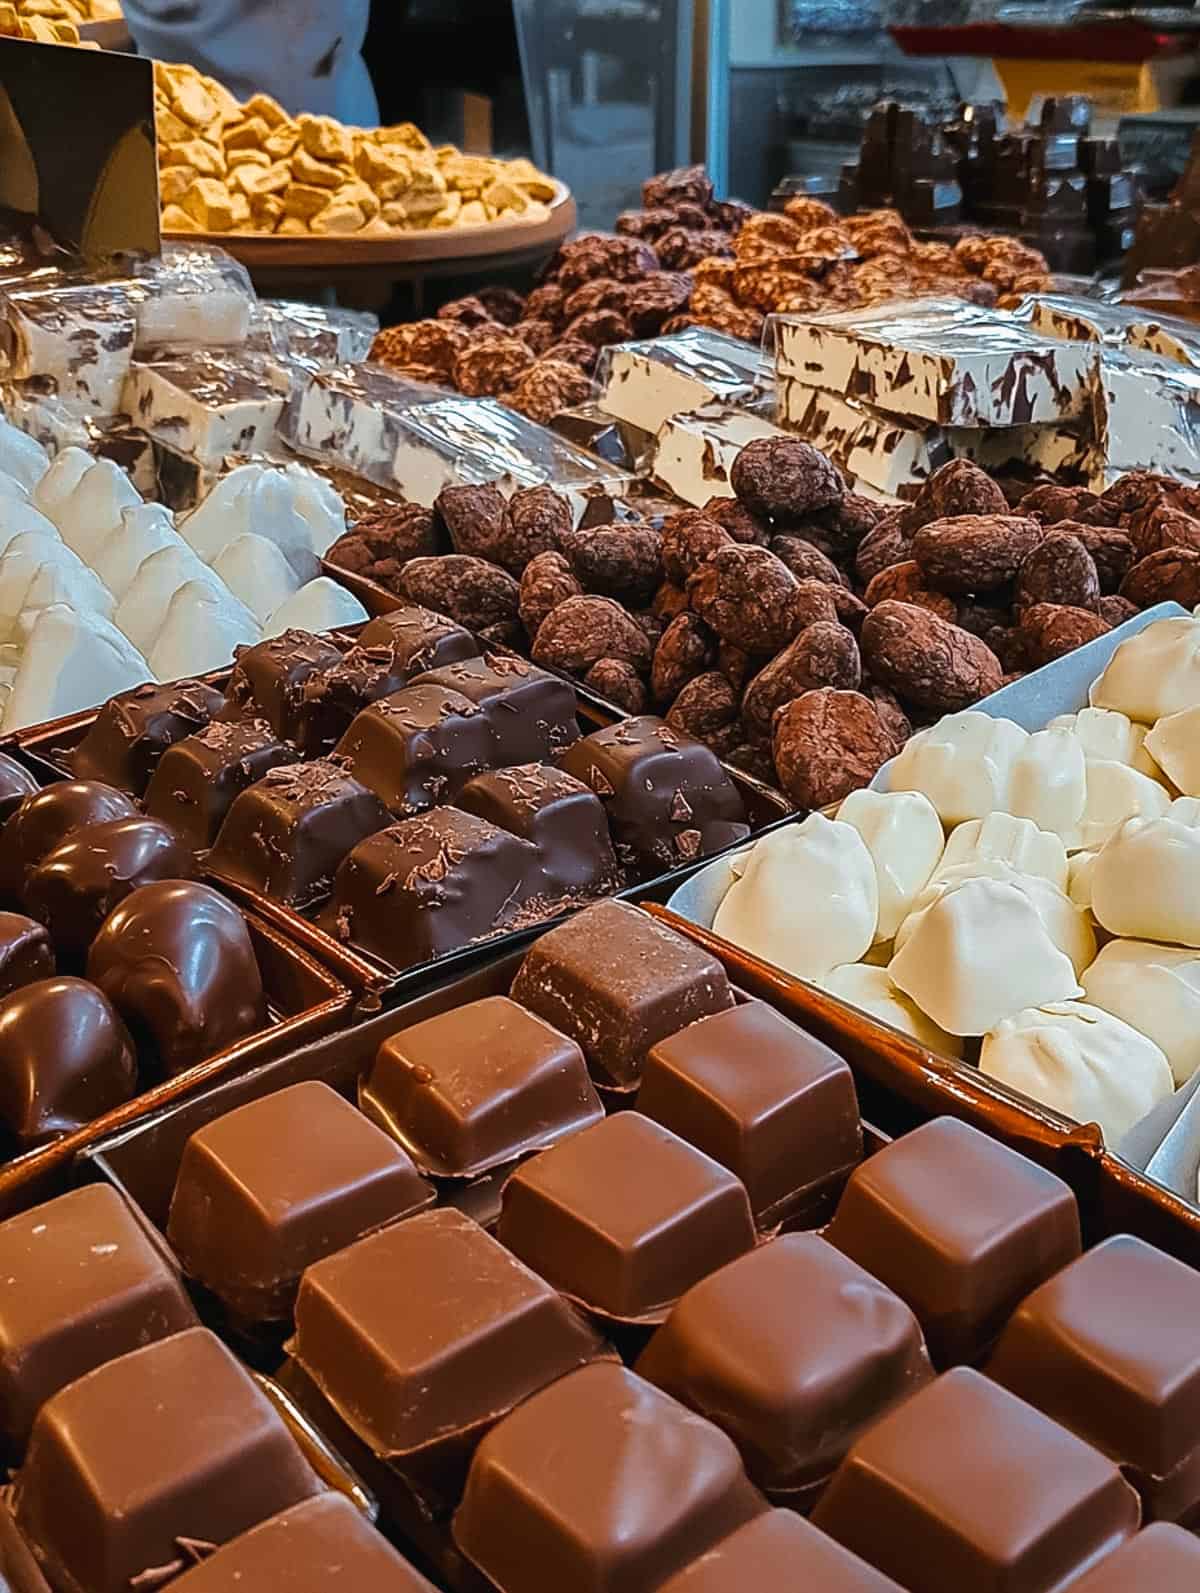
While chocolate and cocoa may seem like interchangeable ingredients, their diverse forms require specific handling to achieve the best results in the kitchen. Understanding the differences between natural cocoa and Dutch-process cocoa, how to temper couverture chocolate, and when to use baking chocolate will elevate your baking and cooking to a professional level.
Choosing the Right Cocoa: Natural vs. Dutch-Process Cocoa
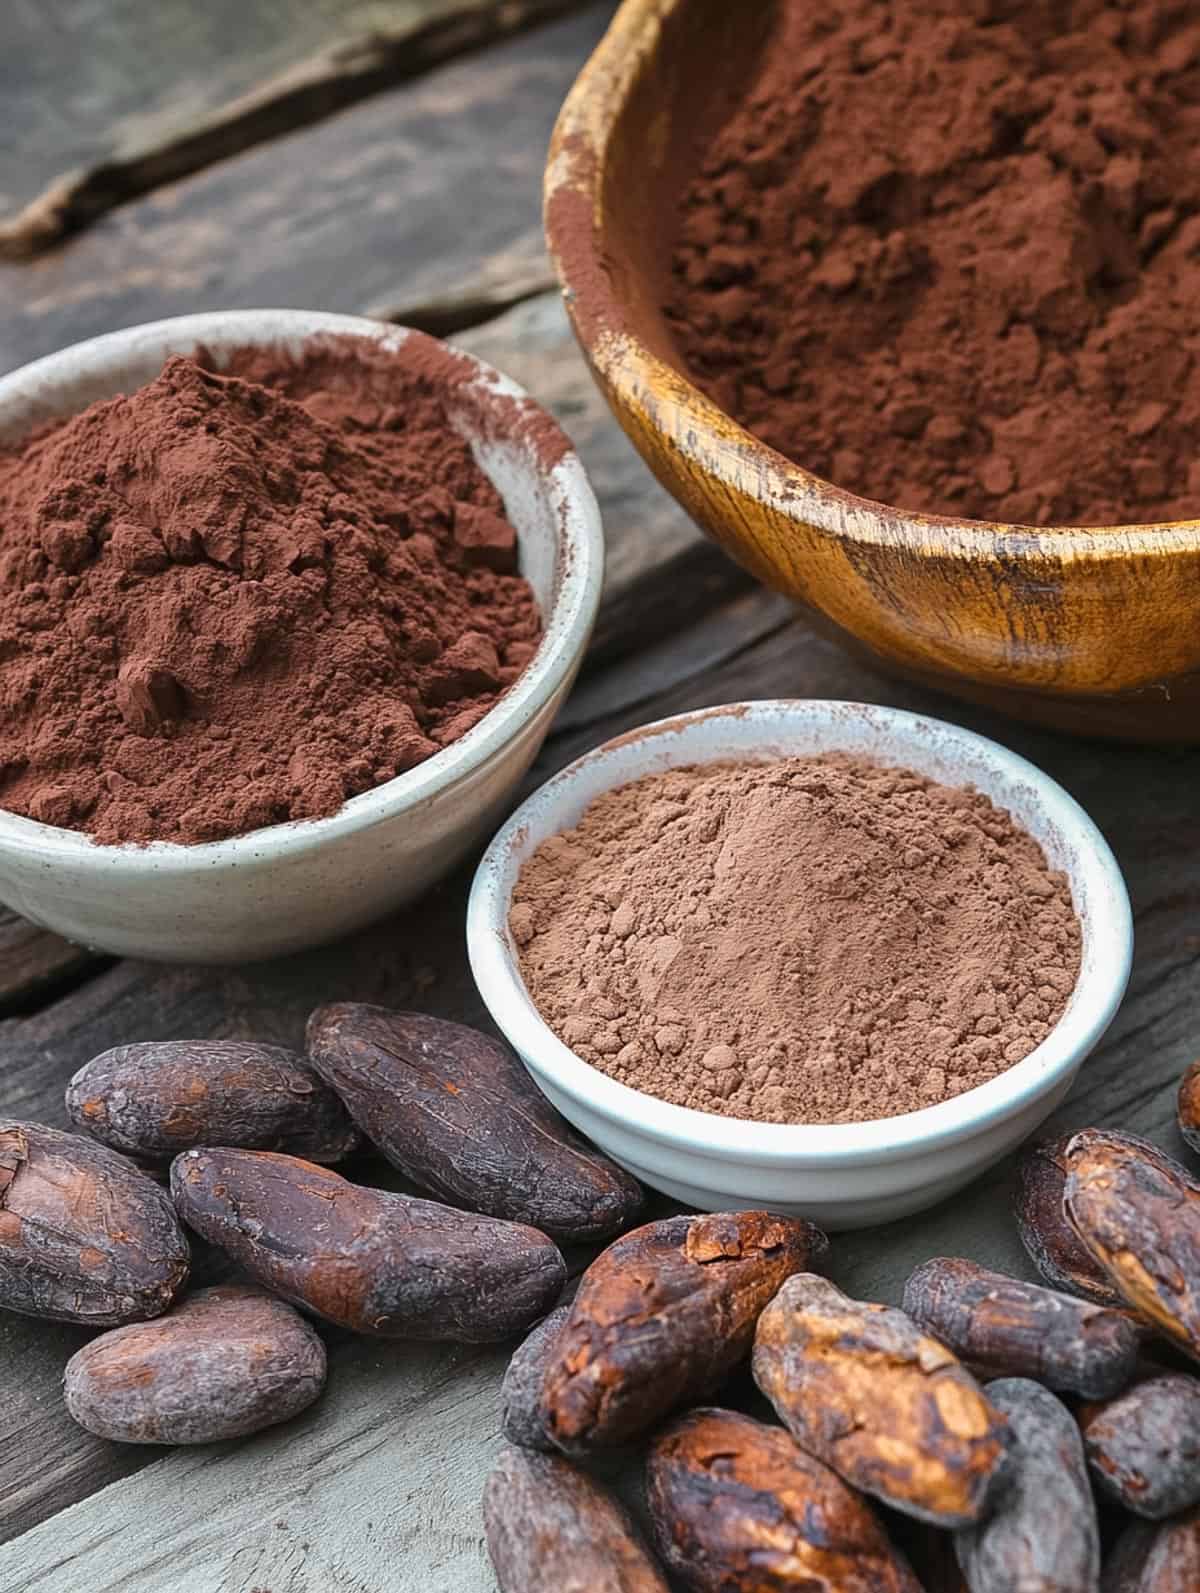
Cocoa powder is an essential ingredient in many baked goods, from rich chocolate cakes to cookies and brownies. However, not all cocoa powders are created equal. The two main types—natural cocoa and Dutch-process cocoa—behave differently in recipes due to their acidity and how they interact with leavening agents.
1. Natural Cocoa
Natural cocoa is the purest form of cocoa powder, produced by removing cocoa butter from chocolate liquor. It is naturally acidic and has a robust, bitter flavor. Because of its acidity, natural cocoa reacts with baking soda, which helps leaven baked goods by releasing carbon dioxide.
- Best Uses: Recipes that call for baking soda as the leavening agent, such as brownies, chocolate cookies, and devil’s food cake.
- Flavor Profile: Intense, somewhat bitter, with a fruity undertone and a lighter reddish-brown color.
2. Dutch-Process Cocoa
Dutch-process cocoa, or alkalized cocoa, is treated with an alkali to neutralize its natural acidity. This results in a smoother flavor and a darker color. Because Dutch-process cocoa is not acidic, it does not react with baking soda. Instead, it requires baking powder as a leavening agent.
- Best Uses: European-style cakes and pastries. Dutch-process cocoa provides a deep, rich color and flavor, perfect for sachertorte, opera cake, or chocolate sponge cake. Also best used in creamy desserts. Its mild flavor and fine texture are well-suited for smooth, luxurious desserts like chocolate puddings, custards, and ice creams.
- Flavor Profile: Milder and earthier than natural cocoa, with a deep, dark color.
Substitution Tip: If you're swapping one cocoa type for another, adjust the leavening agents accordingly. When using Dutch-process cocoa in a recipe that calls for natural cocoa, replace baking soda with baking powder.
Baking Chocolate vs. Couverture: Understanding Their Roles in the Kitchen
Chocolate comes in many forms, but when it comes to baking and professional confectionery, knowing the difference between baking chocolate and couverture chocolate is essential. Each serves a specific purpose, and understanding when and how to use these chocolates will greatly improve the texture, flavor, and finish of your creations. Additionally, we’ll explore how semisweet, bittersweet, unsweetened, and compound chocolate fit into the equation, helping you choose the right chocolate for your needs.
What is Baking Chocolate?
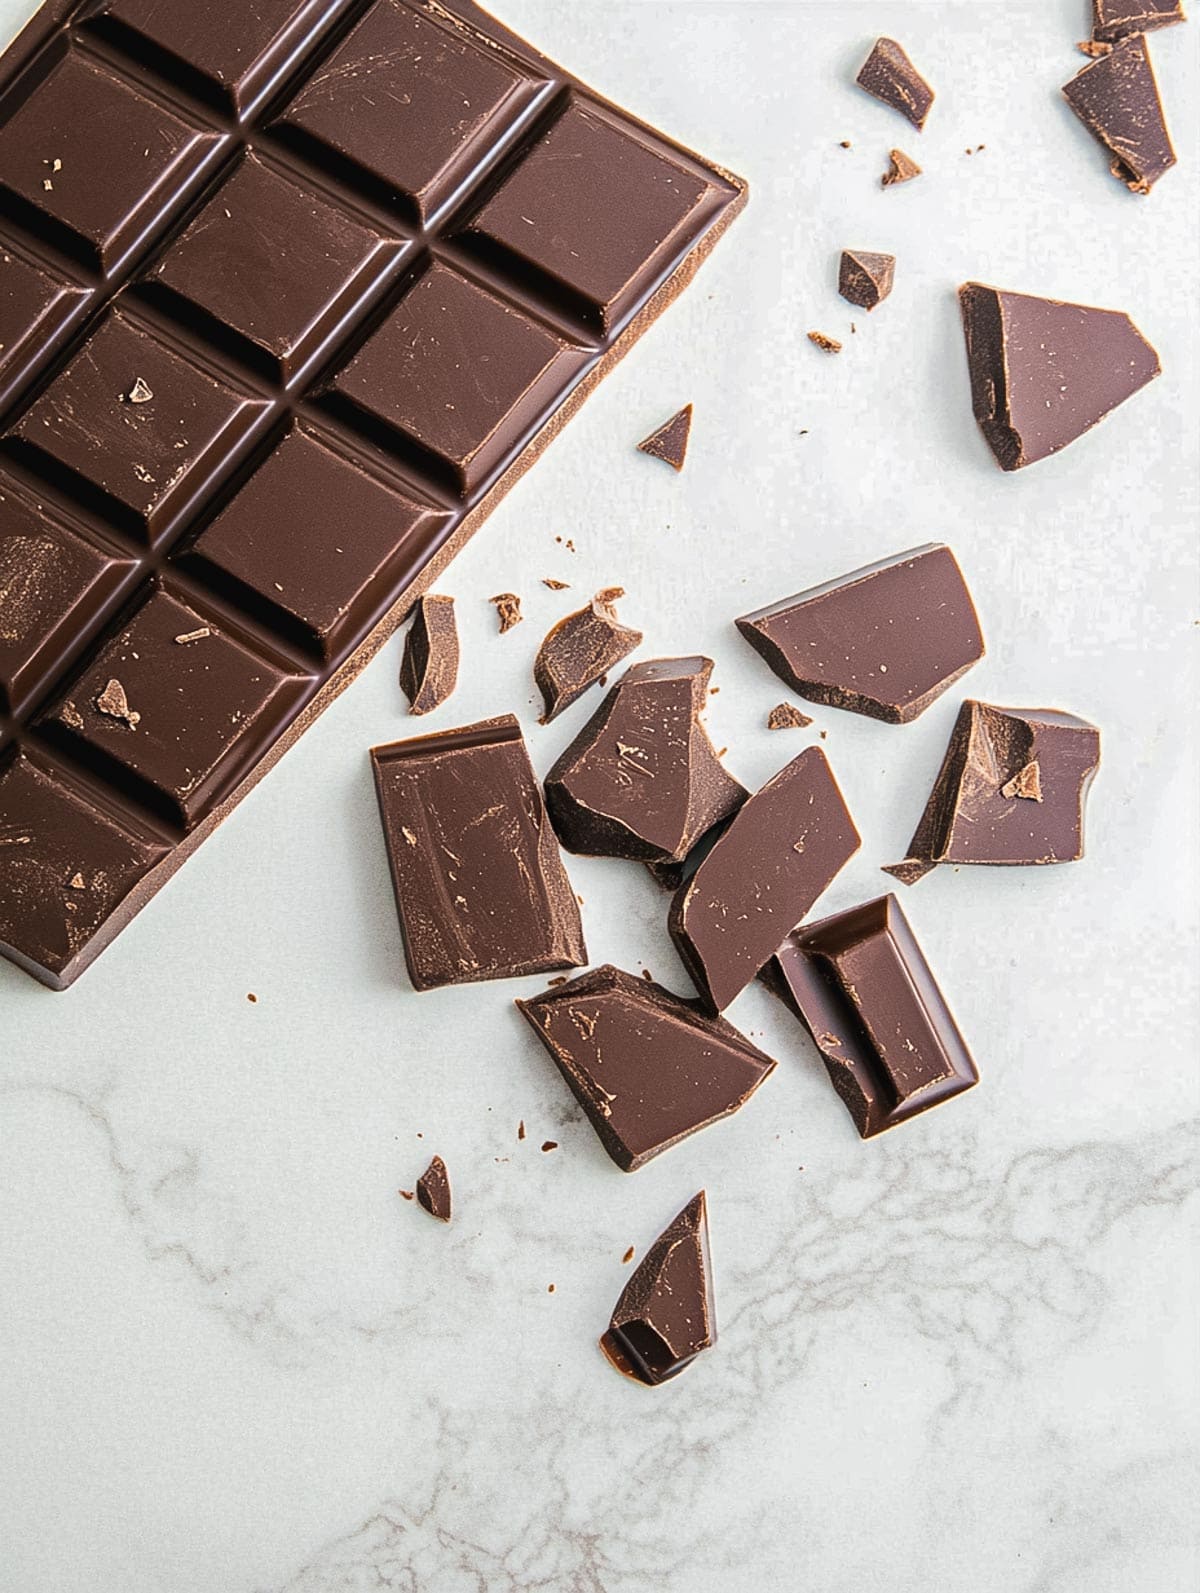
Baking chocolate is a term that generally refers to unsweetened chocolate or semisweet chocolate that is used primarily for cooking and baking rather than eating out of hand. It is sold in bars or blocks and is designed to melt into recipes, where other ingredients like sugar, butter, or cream balance out its intense flavor.
Types of Baking Chocolate
- Unsweetened Baking Chocolate
- Cocoa content: 100% chocolate liquor with no added sugar.
- Flavor profile: Intensely bitter, as it contains no sugar. The strong chocolate flavor is ideal for recipes where sweetness is controlled by the baker.
- Best Uses: Brownies, chocolate cakes, ganache, and recipes where sugar and fat are added separately. It provides the purest form of chocolate for baking, allowing the recipe to dictate sweetness.
- Semisweet Baking Chocolate
- Cocoa content: Typically around 35-50% chocolate liquor, with added sugar.
- Flavor profile: Balanced chocolate flavor with moderate sweetness. It’s less bitter than unsweetened chocolate and can be eaten on its own but is mostly used for baking.
- Best Uses: Chocolate chip cookies, cakes, and frostings. It’s versatile and works well in any recipe that calls for a combination of chocolate flavor and sweetness.
- Bittersweet Baking Chocolate
- Cocoa content: Usually 50-70% chocolate liquor, with less sugar than semisweet.
- Flavor profile: A deeper, more intense chocolate flavor than semisweet, but with a slight sweetness. It’s commonly used in recipes where a richer chocolate taste is preferred.
- Best Uses: Tarts, chocolate mousse, ganache, and chocolate fondants. Bittersweet chocolate shines in recipes that require a strong cocoa flavor without too much sweetness.
What is Couverture Chocolate?
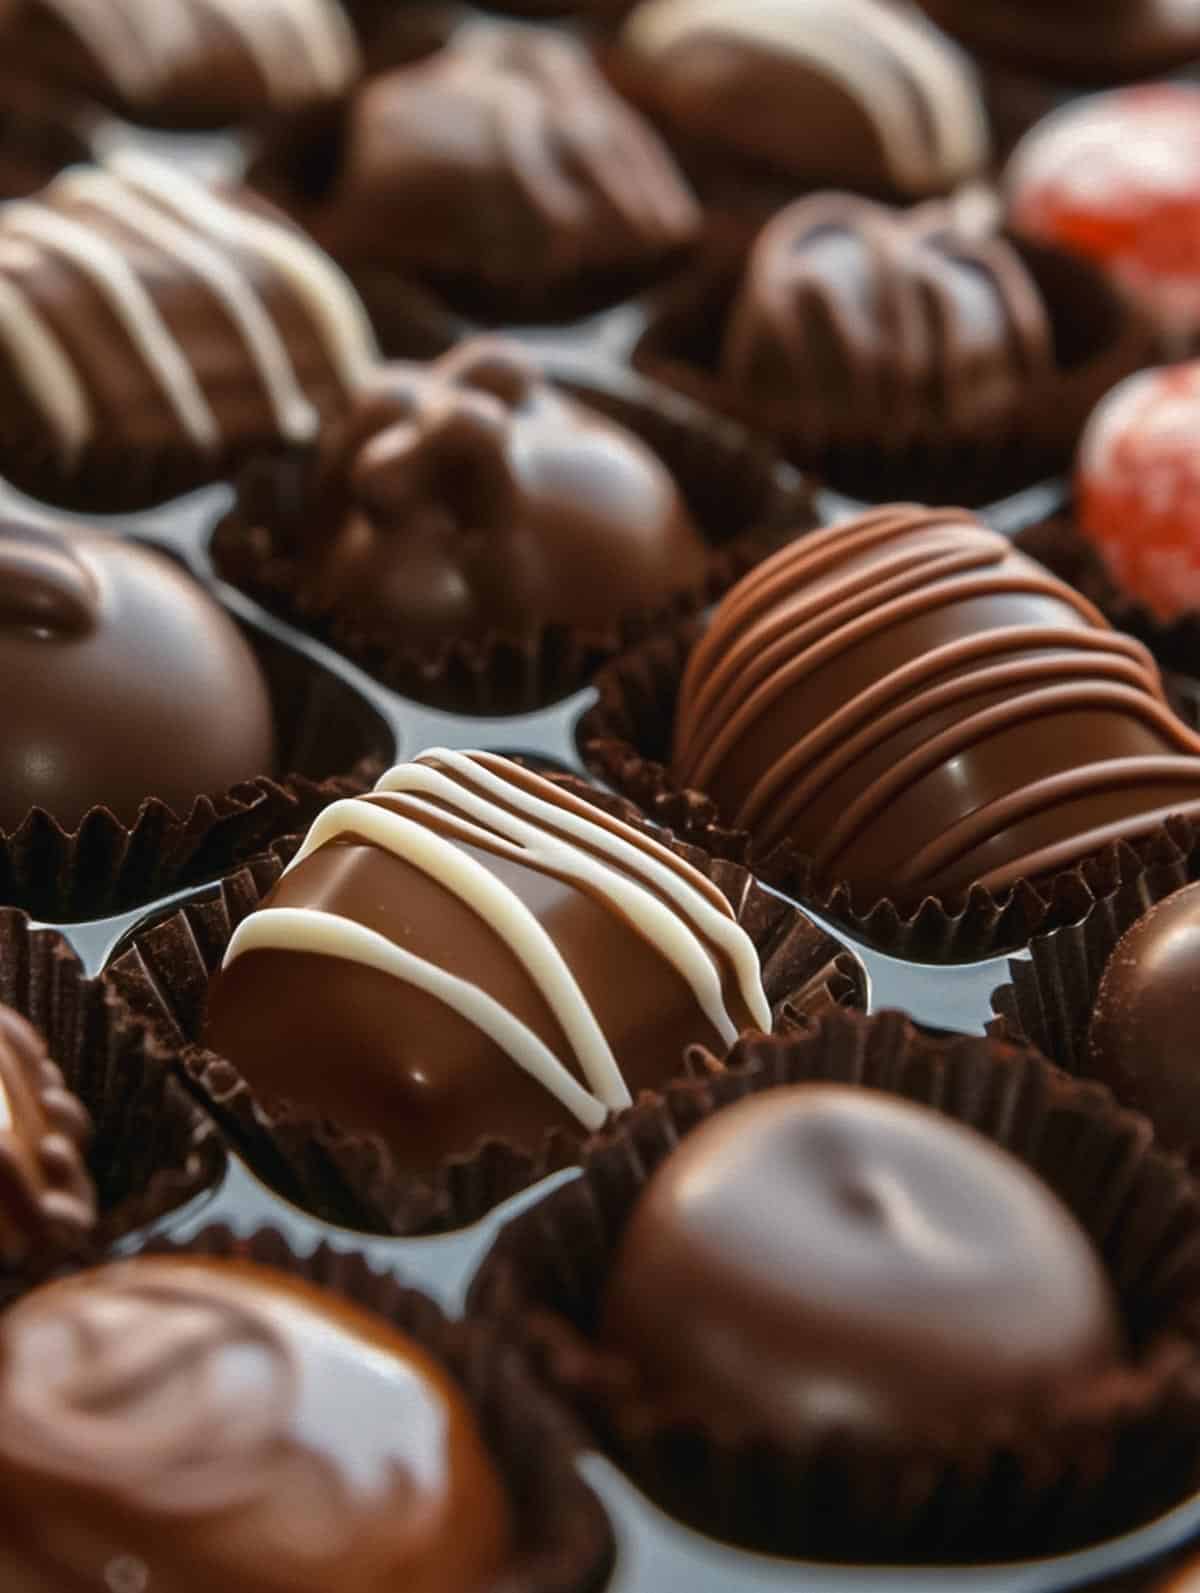
Couverture chocolate is a premium type of chocolate used by professional chocolatiers and pastry chefs. It has a higher percentage of cocoa butter (32-39%) compared to regular baking chocolate, which gives it a luxuriously smooth texture and superior workability when melted.
Types of Couverture Chocolate
- Dark Couverture
- Cocoa content: Typically 50-85% chocolate liquor.
- Flavor profile: Rich, intense chocolate flavor with a smooth, luxurious mouthfeel due to the high cocoa butter content.
- Best Uses: Truffles, dipped chocolates, molded chocolate bars, and decorations. Its fluidity makes it perfect for coating and dipping after tempering, while its flavor shines in ganache and fine confections.
- Milk Couverture
- Cocoa content: Usually 25-40% chocolate liquor, along with added milk solids and sugar.
- Flavor profile: Creamy, sweet, and smooth, with a less intense chocolate flavor compared to dark couverture.
- Best Uses: Chocolate-dipped fruits, milk chocolate truffles, and ganache fillings where a sweeter, creamier chocolate flavor is desired.
- White Couverture
- Cocoa content: Contains no cocoa solids, only cocoa butter (at least 20%) along with milk solids and sugar.
- Flavor profile: Sweet and creamy with a buttery texture.
- Best Uses: Chocolate decorations, drizzles, and pairing with fruit flavors. White couverture works well for tempering and decorative applications but doesn’t have the deep chocolate flavor of dark or milk varieties.
The Key Differences Between Baking Chocolate and Couverture
The major differences between baking chocolate and couverture chocolate revolve around cocoa butter content, fluidity, and how they are used. Each type has distinct characteristics that influence how they should be handled in the kitchen.
| Aspect | Baking Chocolate | Couverture Chocolate |
|---|---|---|
| Cocoa Butter Content | Low (18-20%) | High (32-39%) |
| Texture | Firm, melts into recipes | Smooth, fluid when melted, excellent for coating |
| Best Uses | Baked goods (cakes, brownies, cookies) | Dipping, molding, coating, ganache |
| Tempering Required? | No | Yes |
| Flavor Intensity | Ranges from bitter (unsweetened) to sweet (semisweet) | More intense flavor due to high cocoa solids |
| Melting Behavior | Tends to be thicker when melted | Extremely fluid, perfect for detailed work |
| Cost | Generally less expensive | More expensive due to high cocoa butter |
Other Types of Chocolate to Consider
In addition to baking and couverture chocolate, there are other types that are important to consider, especially when recipes call for specific textures or flavors.
1. Compound Chocolate
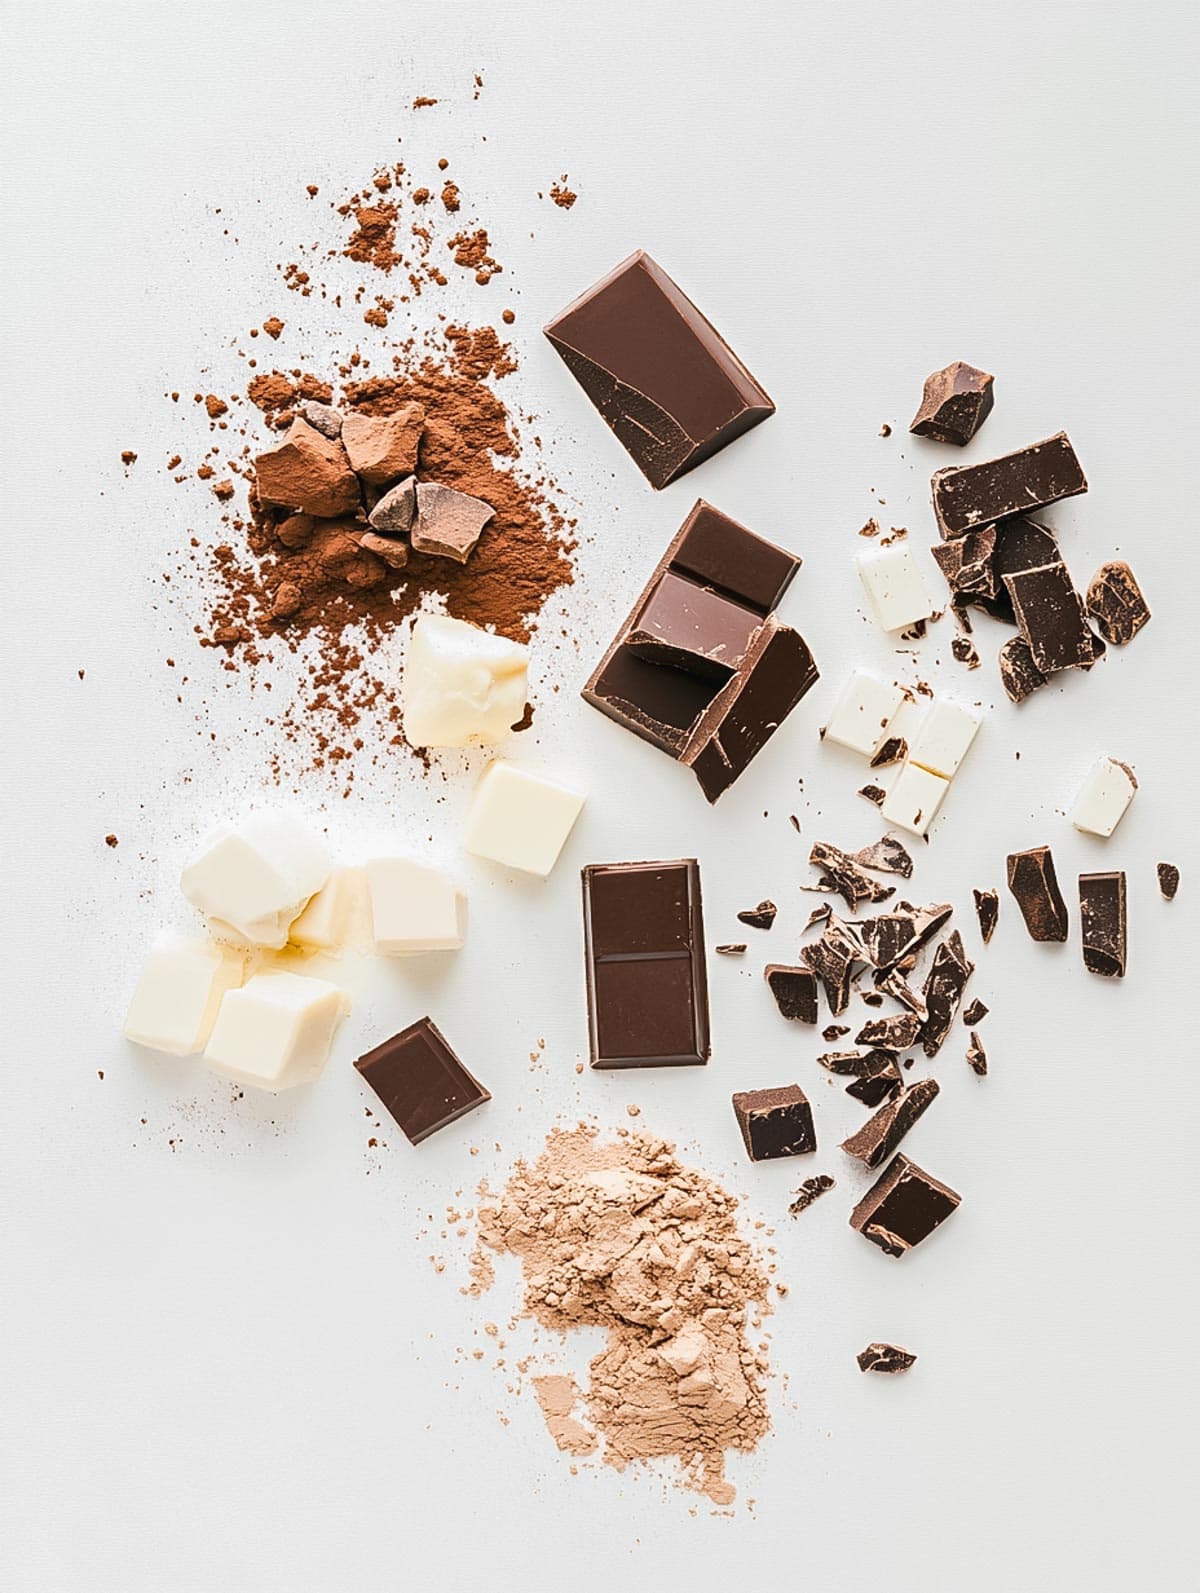
Compound chocolate substitutes vegetable fats (like palm or coconut oil) for cocoa butter, making it easier to handle because it does not require tempering. However, it lacks the smooth mouthfeel and rich flavor of couverture or baking chocolate.
- Cocoa Butter Content: None; contains vegetable fats instead.
- Flavor Profile: Often waxy with a muted chocolate flavor.
- Best Uses: Quick coatings for cookies, candies, or cake pops, where flavor is less important than appearance.
- Pros: Easier to handle; no tempering required.
- Cons: Less flavor, waxy texture, not ideal for fine confections.
2. Sweet Chocolate (Including Semisweet and Bittersweet)
Sweet chocolate is often used interchangeably with semisweet and bittersweet chocolate in baking. The sugar content is higher than that of couverture or unsweetened chocolate, making it suitable for recipes that need a balance of sweetness and chocolate intensity.
- Cocoa Butter Content: Moderate, around 18-20%.
- Flavor Profile: Sweet, with varying degrees of chocolate flavor depending on the cocoa content.
- Best Uses: Cookies, brownies, cakes, or melted into batters. Semisweet chocolate is also used for frostings and glazes where sweetness is needed.
3. White Chocolate
Though technically not a true chocolate (it contains no cocoa solids), white chocolate can be used in a variety of baking and confectionery applications. White chocolate contains cocoa butter, giving it a rich, creamy texture.
- Cocoa Butter Content: At least 20%.
- Flavor Profile: Buttery and sweet, with no chocolate flavor.
- Best Uses: Pairing with fruit flavors, creating visual contrast in decorations, or as a base for flavored ganache.
When to Choose Baking Chocolate vs. Couverture Chocolate
Understanding when to use baking chocolate versus couverture depends largely on what you’re making:
- Baking Chocolate is ideal for recipes where chocolate is melted into the batter, like cakes, brownies, or cookies. It provides intense chocolate flavor without needing to temper or worry about a shiny finish. For example, unsweetened chocolate allows bakers to control the sweetness of the recipe, while semisweet and bittersweet varieties strike a balance between sweetness and richness.
- Couverture Chocolate is the gold standard for professional dipping, coating, and molding because of its high cocoa butter content, which makes it exceptionally fluid when melted. It must be tempered to achieve a beautiful, glossy finish and firm snap. If you’re making truffles, chocolate-dipped strawberries, or molded chocolates, couverture is the best choice due to its workability and premium texture.
The Art of Tempering Chocolate: A Detailed Guide
Tempering is an essential technique for any chef or chocolatier working with couverture chocolate. Properly tempered chocolate gives you that beautiful, glossy finish and a clean "snap" when broken—qualities that are especially important in professional confections. It also ensures the chocolate will set correctly, avoiding the dreaded bloom (a whitish coating caused by unstable cocoa butter crystals).
Tempering is the process of carefully heating and cooling chocolate to control the formation of stable cocoa butter crystals. Without tempering, chocolate can appear dull, streaky, and have a crumbly or grainy texture.
Why Tempering is Necessary
Cocoa butter, which makes up a significant portion of couverture chocolate, can form six different types of crystals when cooled. These crystal types—ranging from unstable forms I-IV to the stable forms V and VI—are what determine the chocolate's final texture and shine. The goal of tempering is to encourage the formation of Form V crystals, which provide the best structure for tempered chocolate. Form VI crystals are stable as well, but they take too long to form and are not practical in kitchen settings.
- Without tempering: The chocolate will set too slowly, become dull or streaky, and develop a crumbly or brittle texture.
- With proper tempering: Chocolate will set quickly, with a glossy finish, smooth texture, and a clean snap when broken.
Step-by-Step Guide to Tempering
There are several methods for tempering chocolate, but the two most common techniques in professional kitchens are the seeding method and the tabling method. Both methods focus on heating chocolate to a high temperature to melt all cocoa butter crystals, cooling it to encourage the formation of stable crystals, and then slightly reheating it to make the chocolate workable.
1. The Seeding Method (Beginner-Friendly)
The seeding method is one of the easiest and most reliable tempering techniques for small batches. It involves adding unmelted tempered chocolate to melted chocolate to introduce the right type of crystals.
Step-by-Step Instructions:
- Chop the chocolate: Start by finely chopping your couverture chocolate (you’ll need about ⅓ of the total chocolate as “seed”).
- Melt the chocolate: In a heatproof bowl, melt about ⅔ of the chocolate over a double boiler. Stir frequently and make sure the water doesn’t touch the bottom of the bowl to avoid overheating. Use the following temperature guidelines depending on the type of chocolate:
- Dark chocolate: Heat to 45-50°C (113-122°F).
- Milk chocolate: Heat to 40-45°C (104-113°F).
- White chocolate: Heat to 40°C (104°F).
- Cool the chocolate: Remove the bowl from the heat and gradually add the remaining chopped chocolate (the “seed”). Stir constantly as the chocolate cools, encouraging the formation of stable Form V crystals. Continue adding the seed chocolate until the temperature drops to:
- Dark chocolate: 27-28°C (80.6-82.4°F).
- Milk chocolate: 26-27°C (78.8-80.6°F).
- White chocolate: 25-26°C (77-78.8°F).
- Reheat to working temperature: Gently reheat the chocolate over the double boiler, being careful not to exceed the following temperatures:
- Dark chocolate: 31-32°C (87.8-89.6°F).
- Milk chocolate: 29-30°C (84.2-86°F).
- White chocolate: 28-29°C (82.4-84.2°F).
2. The Tabling Method (More Advanced)
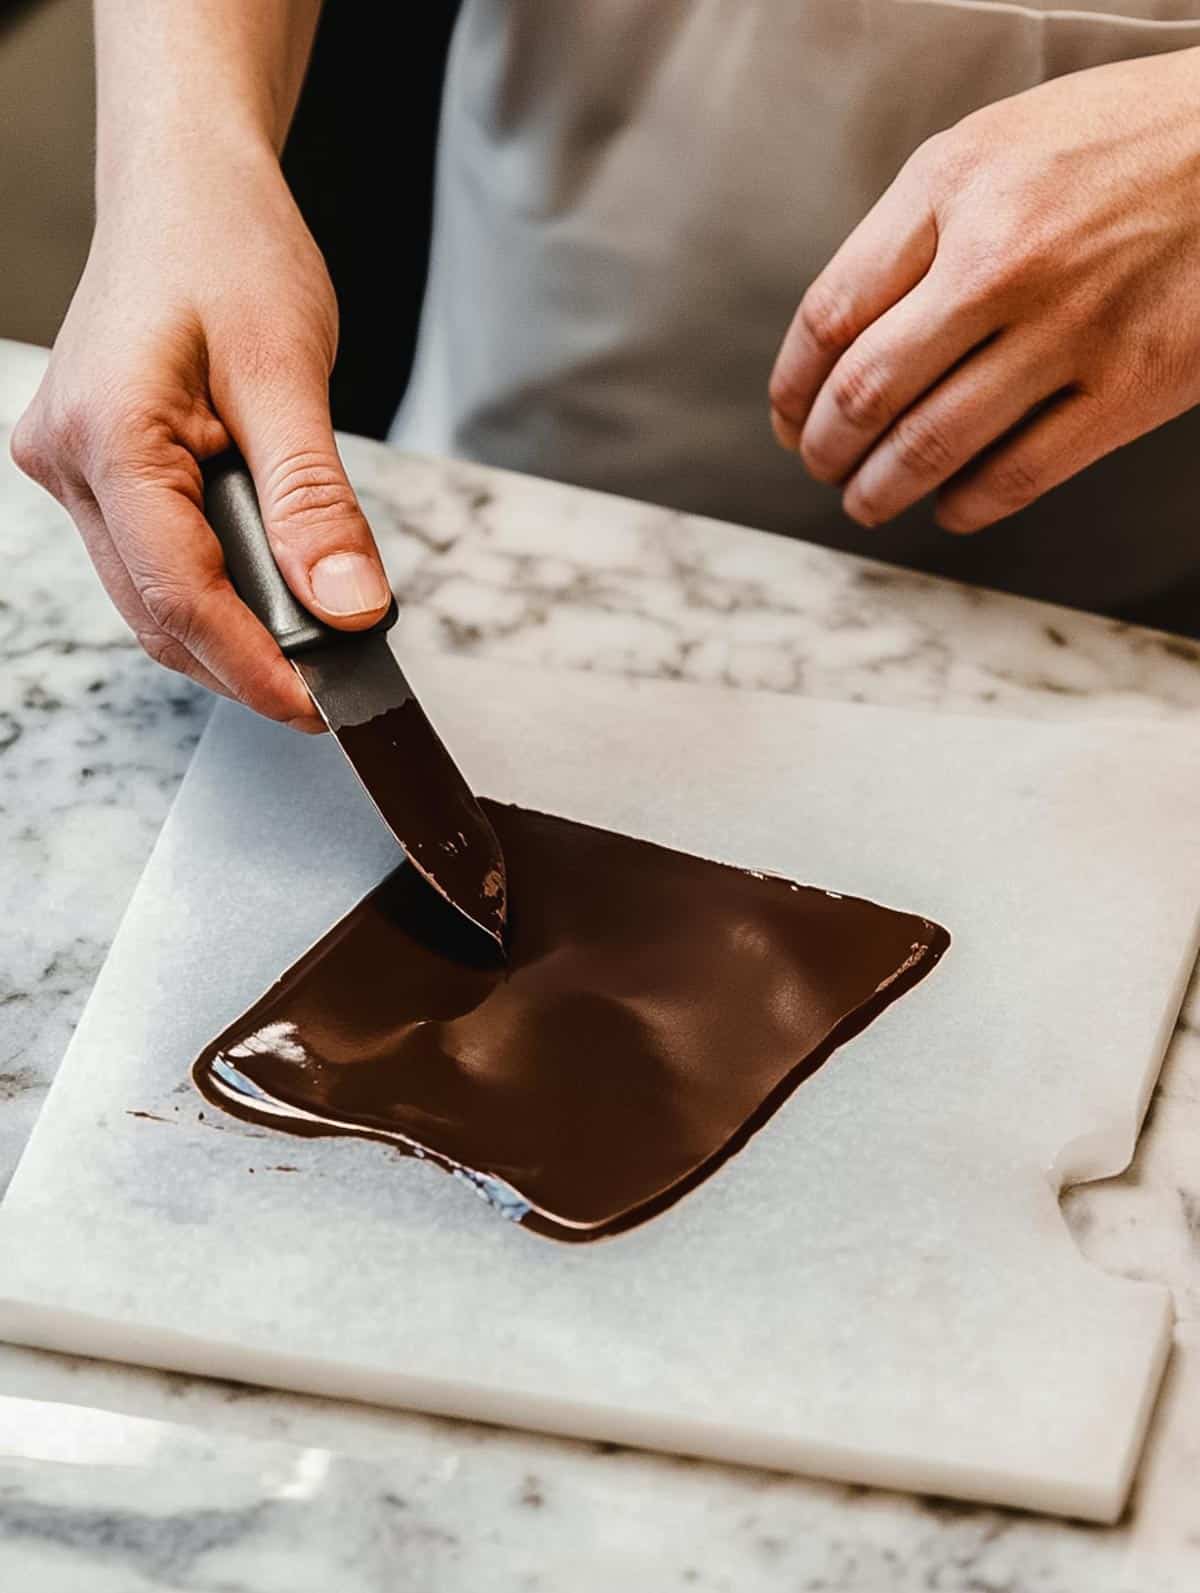
The tabling method is a more traditional approach used by professionals. This method involves spreading and cooling chocolate on a marble slab to bring it to the correct temperature. It requires more space and tools but produces consistently tempered chocolate.
Step-by-Step Instructions:
- Chop and melt the chocolate: Just as in the seeding method, chop your couverture chocolate and melt it over a double boiler. Follow the same temperature guidelines for melting:
- Dark chocolate: Heat to 45-50°C (113-122°F).
- Milk chocolate: Heat to 40-45°C (104-113°F).
- White chocolate: Heat to 40°C (104°F).
- Pour two-thirds of the chocolate onto a marble slab: Once melted, pour two-thirds of the chocolate onto a clean, cool marble slab. Use a metal scraper or palette knife to spread and work the chocolate across the slab. Continuously scrape and spread the chocolate to cool it evenly.
- Cool the chocolate: As you work the chocolate on the marble, it will begin to cool and thicken. The goal is to reduce the temperature to:
- Dark chocolate: 27-28°C (80.6-82.4°F).
- Milk chocolate: 26-27°C (78.8-80.6°F).
- White chocolate: 25-26°C (77-78.8°F).
- Combine with the remaining melted chocolate: Scrape the cooled chocolate from the marble slab and add it back into the bowl with the remaining melted chocolate. Stir until everything is fully combined.
- Reheat to working temperature: Gently reheat the chocolate over the double boiler to the following working temperatures:
- Dark chocolate: 31-32°C (87.8-89.6°F).
- Milk chocolate: 29-30°C (84.2-86°F).
- White chocolate: 28-29°C (82.4-84.2°F).
Tips for Successful Tempering
- Use a thermometer: Precision is key in tempering. A digital thermometer ensures you're hitting the correct temperatures for melting, cooling, and reheating.
- Avoid water contact: Water is chocolate’s enemy! Even a small amount of moisture can cause the chocolate to seize and become grainy.
- Work in a cool environment: The ideal room temperature for tempering is 18-21°C (65-70°F). Too much warmth in your kitchen can make it difficult for the chocolate to set properly.
How to Test if Your Chocolate is Tempered
To ensure your chocolate is properly tempered, perform a simple test:
- Dip a small piece of parchment paper or a knife into the chocolate.
- Let it sit at room temperature for 3-5 minutes.
- If the chocolate sets evenly with a glossy surface and snaps cleanly, it’s properly tempered.
- If the chocolate remains soft, dull, or streaky, it needs to be reheated and tempered again.
Common Tempering Issues and How to Fix Them
- Bloom: If your chocolate develops a whitish streak (known as bloom) after it sets, it means the cocoa butter has separated due to improper tempering. To fix this, melt the chocolate again and re-temper it.
- Grainy texture: This can happen if moisture gets into the chocolate or if it overheats. Start by melting and cooling the chocolate slowly to avoid seizing. If seized, you can try adding a small amount of warm cocoa butter or vegetable oil to smooth it out, but the flavor and texture might not be as optimal.
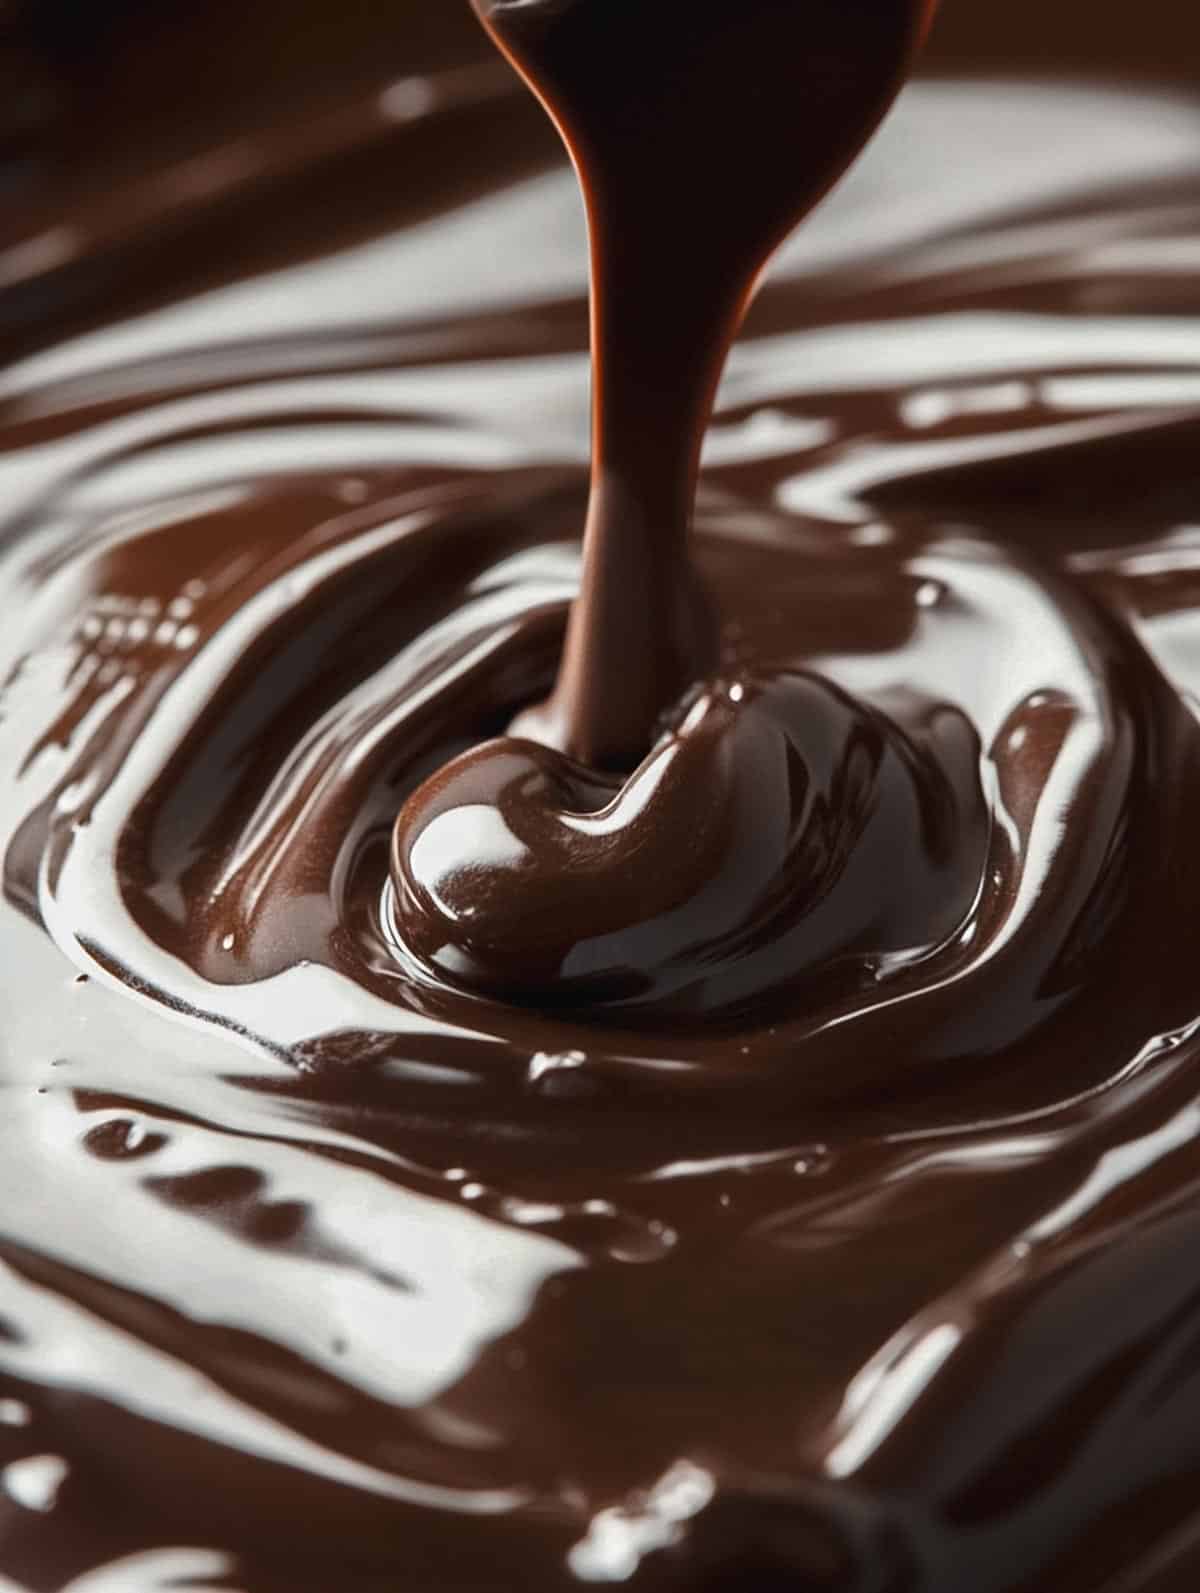
- Chocolate too thick at working temperature: If your tempered chocolate is too thick, it may have cooled too much. Gently rewarm it to the correct working temperature, or thin it slightly by adding a small amount of melted cocoa butter.
Ready to explore chocolate and cocoa more?
If you’re eager to explore the world of chocolate in greater depth, there’s no shortage of excellent resources. Whether you’re fascinated by the history of cacao, want to perfect your tempering skills, or are looking to dive into chocolate-making from bean to bar, these books and online resources will guide you every step of the way.
Books on Chocolate
- The Art of the Chocolatier: From Classic Confections to Sensational Showpieces by Ewald Notter
A comprehensive guide for serious hobbyists or professionals, this book covers advanced techniques for crafting chocolates and creating stunning chocolate showpieces. Perfect for those looking to elevate their chocolate skills. - Chocolates and Confections: Formula, Theory, and Technique for the Artisan Confectioner by Peter P. Greweling
A go-to resource for aspiring chocolatiers, offering detailed insights into the science and art behind perfecting chocolate-based confections. - The True History of Chocolate by Sophie D. Coe and Michael D. Coe
A fascinating look at the journey of chocolate from its origins in ancient Mesoamerica to its status as a beloved global treat today. - Making Artisan Chocolates by Andrew Garrison Shotts
For those ready to try their hand at making chocolates at home, this book offers approachable recipes and techniques for creating handmade chocolate truffles, bars, and more. - Chocolate: History, Culture, and Heritage by Louis E. Grivetti and Howard-Yana Shapiro
Dive into the rich history and cultural significance of chocolate with this detailed exploration, perfect for history buffs and chocolate lovers alike. - Chocolate: Indulge Your Inner Chocoholic by Dom Ramsey
A beautifully designed guide to the world of chocolate, including tasting notes, history, and insights into chocolate production—perfect for anyone with a sweet tooth! - Bean-to-Bar Chocolate: America's Craft Chocolate Revolution by Megan Giller
This book celebrates the modern craft chocolate movement in America, offering a behind-the-scenes look at some of the most exciting small-scale chocolate makers in the country.
Online Resources
- The Chocolate Academy™
A network of chocolate schools around the world, offering workshops and online courses for chocolatiers of all skill levels. Visit the Chocolate Academy - Ecole Chocolat
A leading online school for professional chocolatier programs and chocolate-making courses. Visit Ecole Chocolat - Fine Chocolate Industry Association (FCIA)
A resource for connecting with chocolate artisans and learning about the latest trends in the fine chocolate industry. Visit FCIA - Chocolate Alchemy
Learn the process of making chocolate from scratch, starting with cacao beans, with recipes and tutorials. Visit Chocolate Alchemy
Check out my latest Chocolate Recipes
Bringing It All Together: Your Chocolate Cheat Sheet
In the world of chocolate, there’s no one-size-fits-all. It’s all about knowing your chocolate sidekicks and when to call them into action. Baking chocolate is the reliable workhorse—straightforward and always there when you need it. Couverture? That’s the fancy stuff, a bit more effort but oh-so-worth it when you want to impress. And then there’s compound chocolate, the quick-fix superhero that’s perfect for when you need results right now.
Once you understand who’s who in the chocolate family, you’ll be making the perfect pick every time, so go ahead—whether you’re keeping it simple or getting creative, you’ve got this. Now, it’s just you, your whisk, and a world of chocolate possibilities. Happy baking!

Leave a Reply